I get asked this question on the phone all the time.
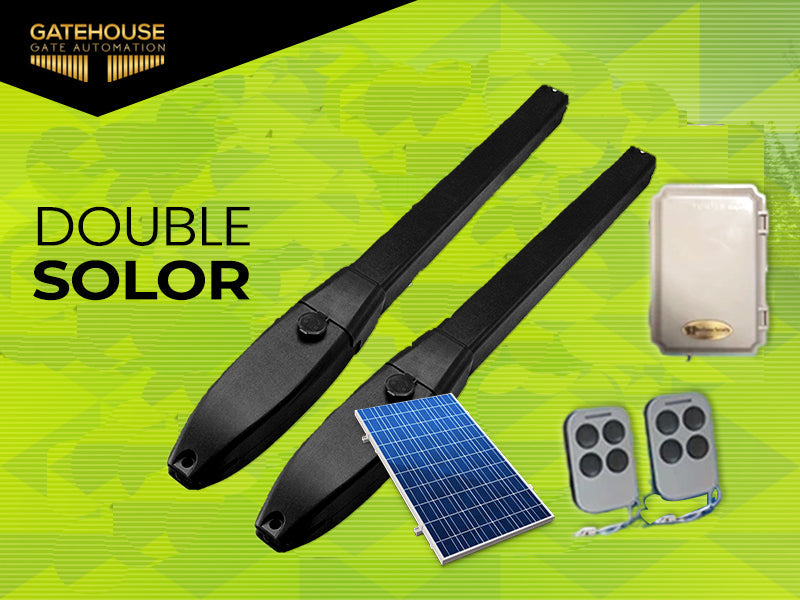
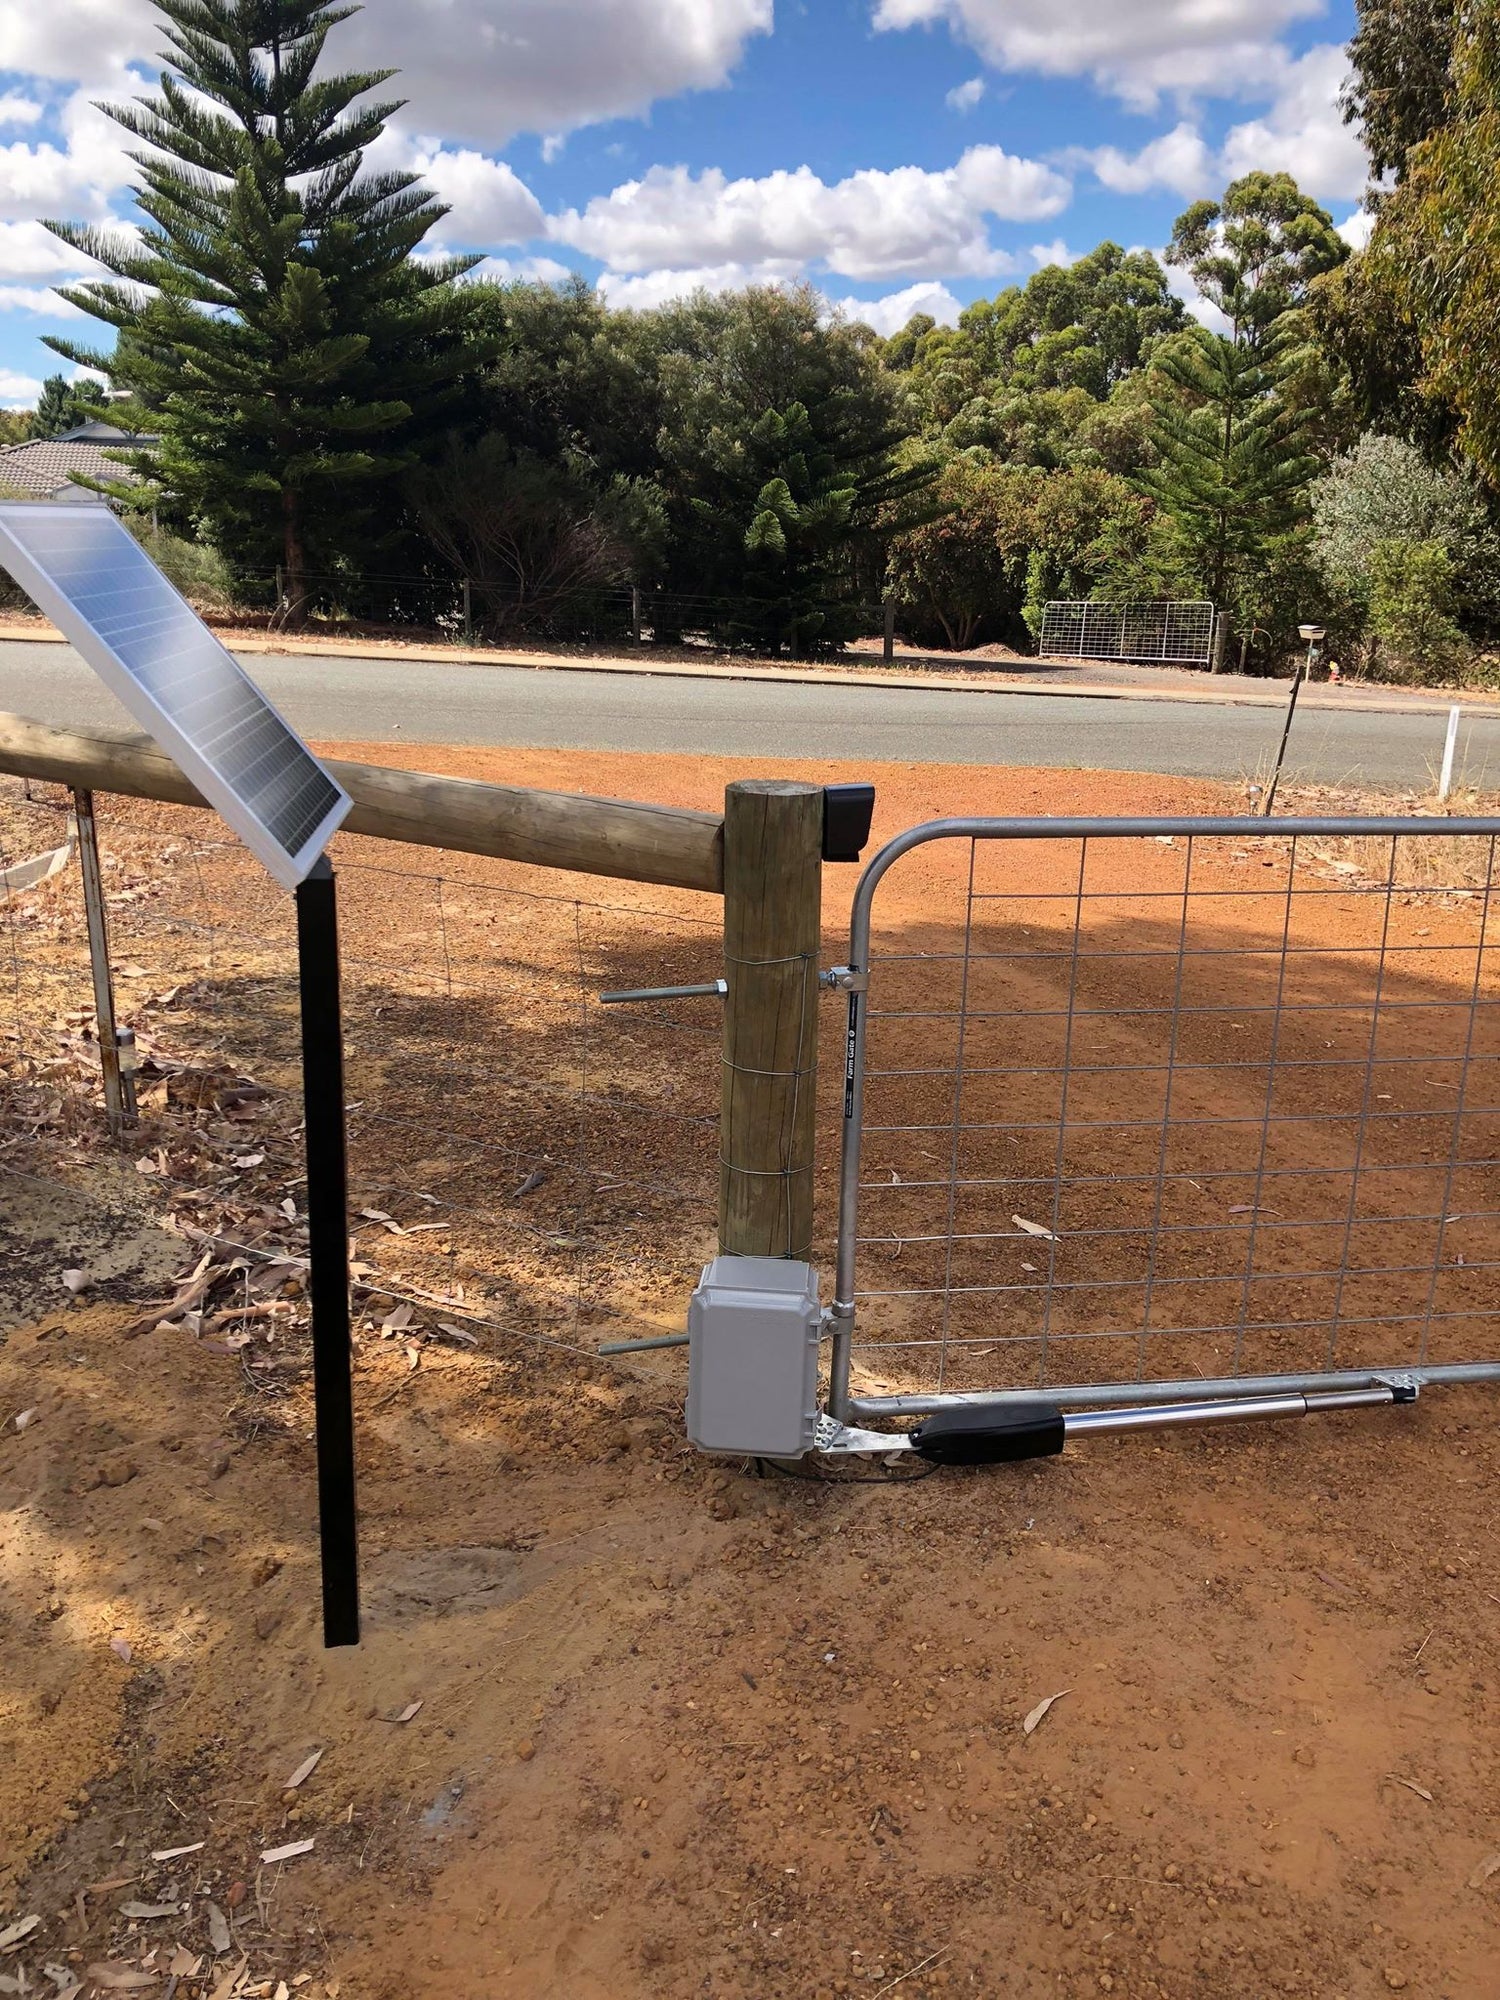
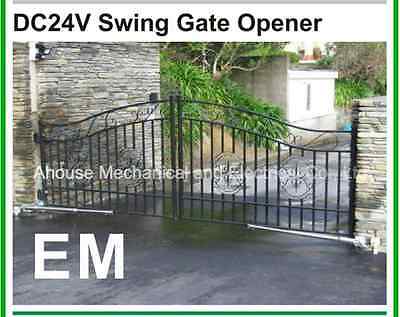
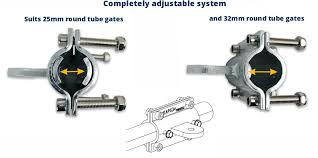
Yes most gate kits are DIY, that means suitable for the general public that can use tools can do it. Some kits are easy, some are hard, some are complicated, some need setting up the controller board, but most are quite simple and usually take between 3-5 hours to install. Tools needed are, very small 3mm flat blade screw driver, medium size philips screw driver, wire cutters, battery drill, battery driver, spanners or socket set, cable ties, wire, usually two core 1.5mm, spade terminals and crimper etc. Some things you need to know. Swing gate motors come with a short cable attached, usually about 500mm and this is enough if the control box is on the gate post next to the motor, but if not it will need extending. If it is a double swing gate, it will need a cable across the drive to the other side. This does not need to be deep as it is low voltage 12v or 24v. When we need to join motor cables, there are two ways. Solder the wires together and use heat shrink sleeve or we use a white electrical connector box mounted on a post. Now there is a reason for this. Should you have any issues and you need to use a tester, it is very hard to connect to the wires with test probes when wrapped in a sleeve, where a connector block can be opened and the wires are easy to get to, also no soldering required. If it is a solar kit, the solar panel must be set up facing the sun during the day. You will need two core cable from the panel to the control box. Make sure the polarity is correct and use cable ties to keep cables tidy and tight so no damage blowing around. Bring all cables into the bottom of the control box so no water can get in. Solar panel cables are usually good enough up to 10 meters using 1.5mm twin. Motors usually come with the correct hardware brackets for those motors. Most of the gate kits on the market are the screw type actuator which requires gate stops in the open and closed position. There is a reason for this. The controller reads the motor voltage and current and when opening or closing it knows what to do. But when the gate hits a stop the motor draws more current, the controller reads this and turns off. that is how it works. Some installers don't install the stops and just allow the motors to come to the end of the travel. This is not good for the actuator and can cause damage over time. Also some actuators self lock but that will not work without a stop to press up against and set the lock. This is an issue I see all the time. I went to see a job yesterday, double mesh farm gate not working properly. The customer had no stops, it was a windy day so the gates were blowing in the wind in and out and the controller did not know what to do so it became an intermittent issue. The controller did not know what to do. so became unreliable. If you don't have stops in the closed position and at approx 90 degrees in the open position, you will have problems. Actually the batteries were going flat as well, simple issue, it was a windy location and the solar panel had moved from north to south so limited sun. also the panel was very dirty so as soon as I cleaned it and changed the angle, the output went up 50%...People forget these things and don't check. The most important thing is the geometry of the motor set up. So a motor is never parallel with the gate. You are aiming for an elongated triangle, or the motor cannot push or pull. Most manuals that come with the kit will show images of this and sometimes with measurements, but basically the measurements can be confusing, so I have a simple way. Use the brackets that come with the kit. Mount the motor to the gate post. Close the gate. Unlock the motor so you can manually fully extend the motor ram. Push the ram in about 30mm and lock the motor. Swing the motor around to the closed gate and using the correct brackets, that is the correct point for bolting the bracket for the end of the motor. One thing I must stress here, I never drill holes in the gate and bolt the bracket on at this point. I use a G clamp to hold it in place. I then get the rest of the electrics connected up and try the remote to open the gate. If the G clamp bracket is in the right place or the wrong place, you will soon know and no holes drilled ..When you first use the remote control, watch the gate, if you can hear the motor start or try to move, but not open or close, it could be that the motor wires are the wrong way around. It just has the effect that the gate is trying to close when it is already closed. Quickly use the remote and stop it trying and rewire the motors. So check the manual, follow the pictures of the brackets angles etc and you should be good to go. If you need help, call the guy you bought it from, that is why I say, don't buy from anyone you cannot call on the phone..Good luck

Leave a comment
All comments are moderated before being published.
This site is protected by hCaptcha and the hCaptcha Privacy Policy and Terms of Service apply.